Find out everything you need to know about Audio Interfaces, including how to choose the right interface for your studio and how to set-up an audio interface
If you’re just getting started with recording or setting-up your first home studio, then audio interfaces can seem confusing.
Fortunately, we’re here to answer some of your questions and help to explain audio interfaces in a way that means you’ll be able to start making music as quickly and easily as possible.
We’ll be looking at what exactly an audio interface does, how to set-up your first interface, and what you should look for when shopping for the best audio interface for you.
Home recording doesn’t have to be complicated - so whether you’re trying to record guitars for a TikTok video or you’re on a mission to make the next lo-fi hip hop masterpiece - scroll down for our complete guide to audio interfaces..

What is an Audio Interface?
Audio Interfaces are an important part of most studio and home-studio set-ups. They’re used to connect audio sources - such as keyboards, guitars, or microphones - to your computer.
They allow your computer to process analog signals by converting them into digital signals, and then changing them back again when you need to listen via your studio monitors or headphones. Interfaces do this by relying on ADCs, or A/D converters.
You’ll often see some different measurements associated with audio interfaces - for example, 16-bit, or 44.1kHz. These numbers refer to the resolution and sampling rate, and without getting too complicated, these numbers allow us to see what an interface is capable of. In theory, the higher these numbers are, the better quality and higher definition your recordings are going to be.
Most audio interfaces are connected via USB, although at PMT we also stock a range of Firewire Audio Interfaces and Thunderbolt Audio Interfaces.
On the front of an audio interface you will usually have one or more instrument inputs (or line-level inputs) and mic inputs - some modern audio interfaces will also come with ultra-handy combination inputs that allow you to connect both ¼” jack cables and XLR cables.
On the back of an audio interface is where you’ll usually find the space to connect your monitors and headphones. Some interfaces also support MIDI connectivity, and so you may find MIDI in/out ports on your interface.
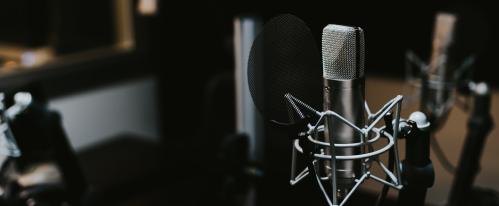
Audio Interfaces are useful for supplying phantom power to Studio Condenser Microphones, and they provide a simple platform to control your input and output volumes once you’re all linked up.
This might seem a little complicated if you’re just getting started - but keep reading to find out how to choose the right audio interface for your studio and how to get it set-up - you’ll be recording your next hit in no time!

How to Choose an Audio Interface
There are some important things that you should keep in mind when searching for an audio interface that is right for you. Firstly, you should make sure that you’re searching for an interface that has the right type of connectivity - USB, Firewire, or Thunderbolt.
Depending on what you want to record - and how you plan to record it - there are certain other features that you might need to consider..
- The amount of inputs and outputs that you’re going to need
- The type of inputs that you need
- What additional features you need - such as MIDI
For example..
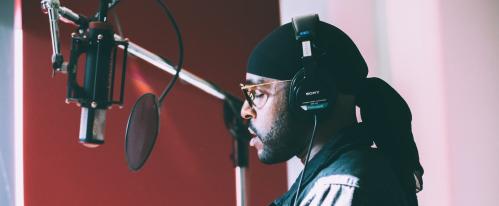
Singer-songwriters looking to track an acoustic guitar and then add some vocals will likely find that an interface with just one or two inputs is enough.
But if you want to track drums or a full band with a number of different microphones, then you’ll quickly find that an interface with more inputs and outputs is necessary.
DJ’s and producers, on the other hand, will often need more flexibility when it comes to line-level inputs and MIDI connectivity. In this case, the microphone inputs might not be as important.
How to Set-up an Audio Interface
There are certain things that you’ll need to take do you’ve picked out the right audio interface for your recording set-up so that you can get going with making music straight away.
There are 5 main steps you’ll likely have to take - but don’t worry, they’re all super-simple:
- Connect the interface to your computer
- Configure the interface as an audio device
- Connect your headphones and/or monitors
- Connect your microphones and/or instruments
- Assign inputs and set the levels
You can watch this video for a little extra insight into getting your rig ready for recording..
Audio interfaces are usually bus-powered, so they’ll be ‘on’ as soon as you’ve plugged-in to your computer or laptop.
Once it’s connected to your computer, you can select the interface as the audio input/output in the OS system preferences or within your chosen DAW. Most interfaces are ‘plug-and-play’, but some will require you to download a specific driver - if you’re struggling to find your interface as an option, then make sure you’ve got the relevant software or drivers installed first!
From here, things are pretty straightforward.
If you’re using studio monitors, be sure to pick out the right cables - usually ¼” jack cables, balanced XLR, or phono connections - and ensure that you connect the left and right speakers to the corresponding outputs on the interface.
The headphone output should be clearly labelled, and connecting them should be easy. Whether you’re using the headphones simply to listen whilst you record or you’re using them in place of monitors, the process should be the same.
Lastly, you can connect any mics or instruments, set the levels, and start recording!
Final Thoughts
If you’re not sure where to start with your home studio, we recommend taking a look at Trumix.
The TM-10 and TM-12 audio interfaces are perfect options for those just getting started with audio recording, or experienced studio owners who are looking for something to use on-the-go.

You can also find a range of Trumix bundles at PMT - so if you need to get studio monitors or cables for your set-up, these are a great option.
We also stock audio interfaces from the likes of Focusrite, PreSonus, Native Instruments, and Antelope Audio - so no matter your recording needs, we’ve got a selection from the hottest brands in the industry.
Looking to find more of the best cheap audio interfaces available at PMT? Want to check out our full range of studio and recording gear? Call us on 0151 448 2089 or check out your local store to speak to one of our Experts about your microphone and recording needs.